That post title in honor of all the Chopped-Themed "Condescending Wonka" Memes I made this afternoon.
Ex.
... like 2 people are going to get those jokes, but it's fine. I think they're hysterical.
Anyway, hopefully Spring is on its way. Jeremy has fired up the chainsaw more than once. We've also done some miscellaneous trimming around the house.
I also cleaned up a new set of metro shelves from Jeremy's dad's barn and put them in place of our smaller ones. It makes a major difference! Now I just have to figure out where to hang up my pegboard...
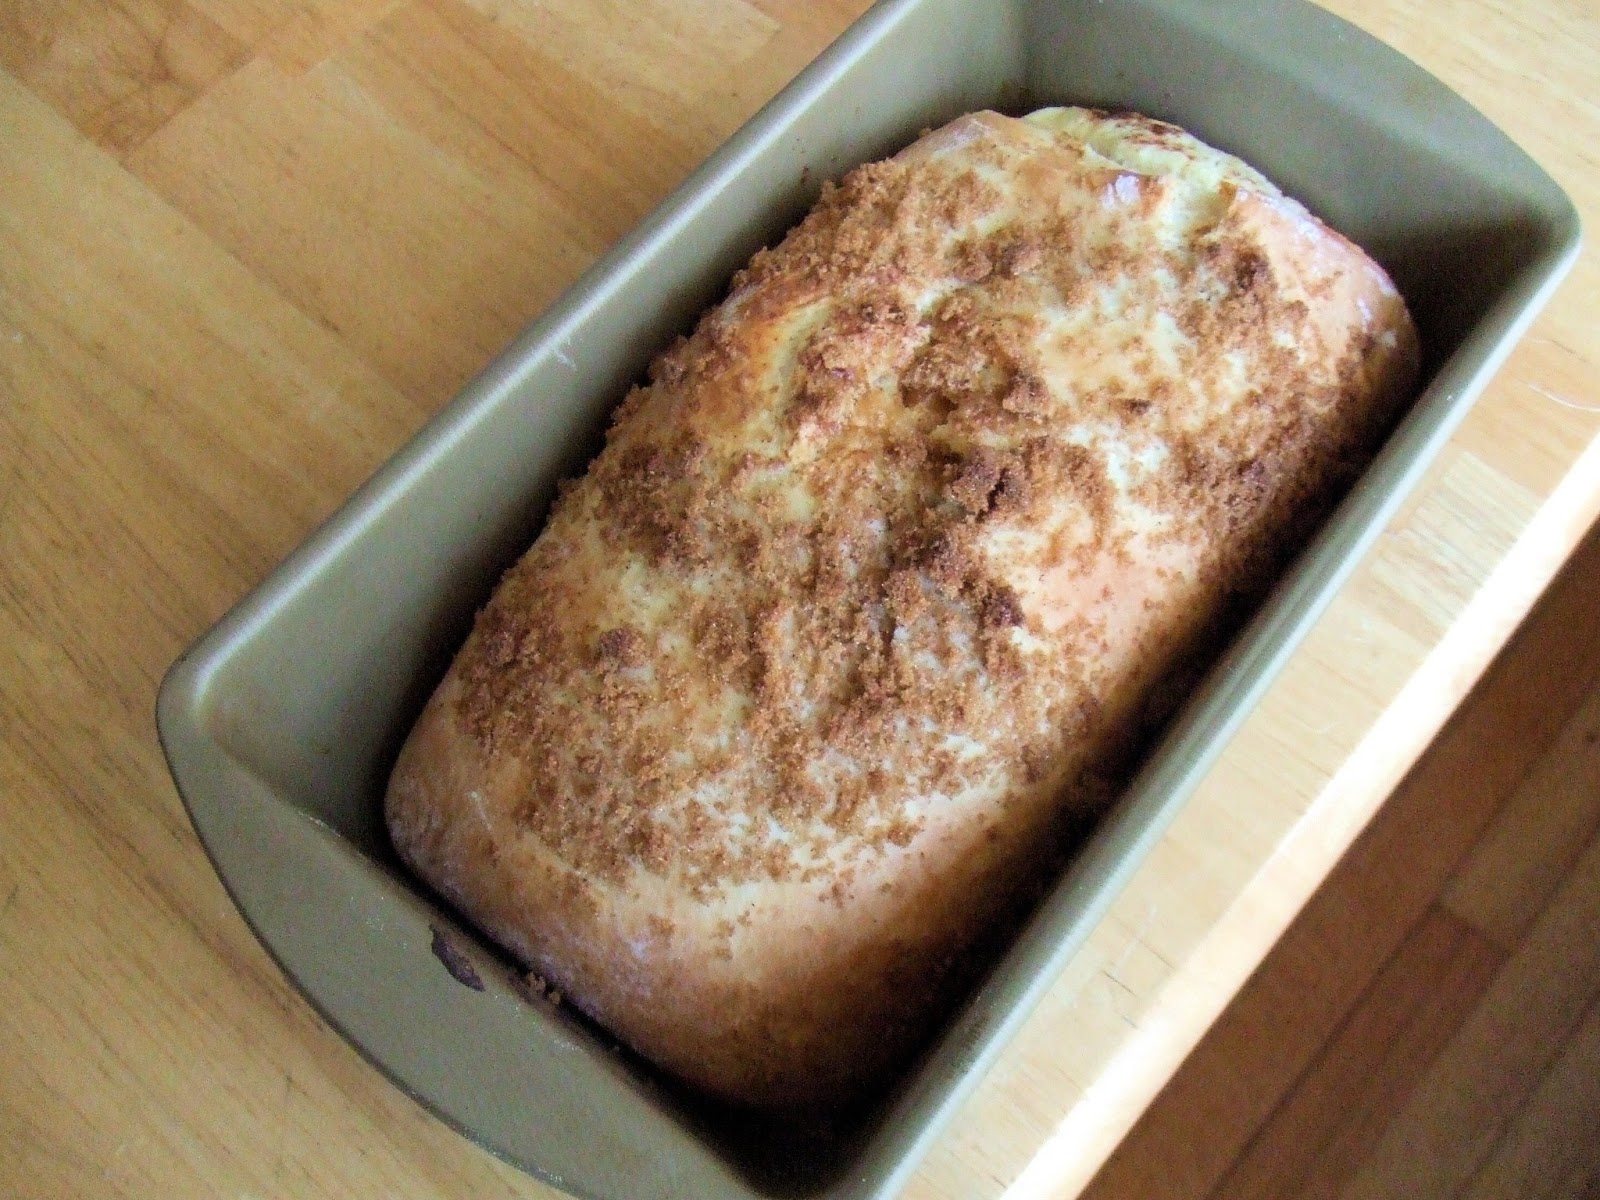
Also, I made this babka. Tastes like Easter.
Saturday, March 30, 2013
Confession: Our Laundry Room is Gross.
We've started work on the infamous laundry room. It's gross and gross and overall, gross. We're nowhere near done--and taking our sweet time to do it. So far demo is almost finished. Next we'll have some minor planning before the next step.
Here's why we decided to take on this project:
The disgusting torn floor
The sketch pipe connections
The ceiling that was literally falling on my head.
Need more room? No problem! Cut a hole!
The shoddy workmanship (really--wait until you see what is behind this... wall-papered particle board?... we don't even know what it is)
Ah yes, need to keep your 220 outlet from hanging from the wall? attach it to a board! Sketch sketch sketch.
You probably can't see this, but the drainage/hookup hoses for the dishwasher and water system upstairs are tied up with actual bandages, like you'd put on a sprained ankle. As you can see, this room needs serious help. Since I am genuinely afraid to go into my basement, Jeremy agreed that it was necessary we take on this project.
Here are the delightful things we've already uncovered:
"Framing" ... nailed to nothing in particular with no plan, measurement, or standard nail size. Also, the boards are turned incorrectly for framing...
"Insulation" ... it's styrofoam glued to the wall.
"Plumbing" ... pipe in the way of the board? Work around it! I'm sure a cut in the middle won't compromise the structural integrity of the wall!
With the work we've done so far we can still get laundry done, so, no rush.
Here's why we decided to take on this project:
The disgusting torn floor
The sketch pipe connections
The ceiling that was literally falling on my head.
Need more room? No problem! Cut a hole!
The shoddy workmanship (really--wait until you see what is behind this... wall-papered particle board?... we don't even know what it is)
Ah yes, need to keep your 220 outlet from hanging from the wall? attach it to a board! Sketch sketch sketch.
You probably can't see this, but the drainage/hookup hoses for the dishwasher and water system upstairs are tied up with actual bandages, like you'd put on a sprained ankle. As you can see, this room needs serious help. Since I am genuinely afraid to go into my basement, Jeremy agreed that it was necessary we take on this project.
Here are the delightful things we've already uncovered:
"Framing" ... nailed to nothing in particular with no plan, measurement, or standard nail size. Also, the boards are turned incorrectly for framing...
"Insulation" ... it's styrofoam glued to the wall.
"Plumbing" ... pipe in the way of the board? Work around it! I'm sure a cut in the middle won't compromise the structural integrity of the wall!
With the work we've done so far we can still get laundry done, so, no rush.

Sunday, February 10, 2013
Kitchen Work
It was a long weekend, but I finished painting the kitchen. Now it has this Two-Face thing going on because the tiley-bricked half remains untouched.
Before
1. Remove molding and cup rack.
2. Tear out light box.
3. Wash and sand.
4. Patch nail holes and gaps in the paneling.
5. Tape windows.
6. Sand and wash again
7. Prime
I'm pleased with the outcome. The color is called "Baked Scone" and less yellow than it is in these pictures. I wish that I had better pictures for you, but I always finish these projects when it's dark and then get too excited to wait to post...
Before
1. Remove molding and cup rack.
2. Tear out light box.
3. Wash and sand.
4. Patch nail holes and gaps in the paneling.
5. Tape windows.
6. Sand and wash again
7. Prime
8. Prime Again
9. Paint
This is the culmination of 3 weekends. The painting along took all this weekend.
I'm pleased with the outcome. The color is called "Baked Scone" and less yellow than it is in these pictures. I wish that I had better pictures for you, but I always finish these projects when it's dark and then get too excited to wait to post...
Sunday, February 3, 2013
Cooking Up Some Progress
The kitchen is moving forward. I washed all the walls, we tore down the cup rack and the fluorescent light box. Then we fixed up the molding where the box and the rail were taken out. I was psyched to start spackling, but then I opened the spackle and it looked like this!
Mildew? Gross. Anyway, got new one when we went out for sushi this evening. Guess that puts of spackling and priming off until another day!
We also kept bumping into the hanging light. We had it tied up to the light box with twine (sketch), but really, it had to go.
The new fixture puts out soooo much more light!
It's nothing fancy, and we're not even sure if it's the one we're going to have here permanently, but it was $7 and way better than what was there previously.
Monday, January 28, 2013
Dining Room Dressing
Remember way back in July when I finished painting this room? It has been sitting un-dressed for several months now. The dining room serves mostly as my craft room. We don't really eat in there, so I can leave all of my projects in their various states for days/weeks. The room was really starting to get me down. The walls were getting more and more "meh." My bro's lady said that she still likes it and thinks it just needs some accessorizing. Window dressings are a start. I want a buffet, but I have to find one that I can refinish for cheap. I have no desire to spend $500+ on a sideboard. Curtains and wall art will suffice for now.
Chalkboard paint on canvas. It's nice. When I get tired of the quote, I can change it.
Sunday, January 27, 2013
On the Rails
Anyone who has been over to our house has noticed what we affectionately call "The Cliff." It's the four foot drop from the kitchen to the den. When we moved in there was a rail there, but we removed it to put in the new fridge. The rail was in TERRIBLE shape. I'm not even sure we needed tools to take it down.
I finally got around to putting in a new rail. I'm am quite pleased with the results.
"The Cliff" Before
Remnants of the old railing. It's not even installed on a level surface. It's also painted orangeish.
The first thing I had to do was set the newel post. There were two options for setting it to the floor. One involved a 12" spike that is supposed to attach to the supports underneath. Because of the strange outcropping and bumped up floor this wasn't going to work. Instead I bracketed the post to the floor and used a special molding to cover up the hardware.
Then I set all of the balusters into the floor using dowel screws. I measured, drilled, and then twisted them into the floor.
By far the most difficult part involved the half-newel, the one that attaches to the wall. Because the post had to be attached to the rail as well as the wall we had some finagling to do. While I did most of this project myself, I needed Jeremy for this part. To bolt the rail to the post Jeremy held the rail with a death grip and I used the socket wrench to screw it on. After wrestling with it for a while we finally got it attached. Then I was able to attach the post to the wall, which was FAR easier. After that setting the rail in place and bolting it to the freestanding newel went fast.
Check out the finished product!
Also, Mama's new socket set...
I finally got around to putting in a new rail. I'm am quite pleased with the results.
"The Cliff" Before
Remnants of the old railing. It's not even installed on a level surface. It's also painted orangeish.
The first thing I had to do was set the newel post. There were two options for setting it to the floor. One involved a 12" spike that is supposed to attach to the supports underneath. Because of the strange outcropping and bumped up floor this wasn't going to work. Instead I bracketed the post to the floor and used a special molding to cover up the hardware.
Then I set all of the balusters into the floor using dowel screws. I measured, drilled, and then twisted them into the floor.
By far the most difficult part involved the half-newel, the one that attaches to the wall. Because the post had to be attached to the rail as well as the wall we had some finagling to do. While I did most of this project myself, I needed Jeremy for this part. To bolt the rail to the post Jeremy held the rail with a death grip and I used the socket wrench to screw it on. After wrestling with it for a while we finally got it attached. Then I was able to attach the post to the wall, which was FAR easier. After that setting the rail in place and bolting it to the freestanding newel went fast.
Check out the finished product!
Also, Mama's new socket set...
Subscribe to:
Posts (Atom)