Saturday, March 10, 2012

On our way to baked goods...

So, as you may know/remember/not know we bought an oven/stove combination back over Christmas Break. It's been two months and it's still not installed. Putting the stove was going to be an undertaking in that we would have to remove the stovetop, cut the granite, and remove a countertop. Additionally, we have a gas stove, so the company has to come back an hook it up.

Jeremy's family came down for a day of fun and [minor] kitchen reno (ahem... Jeremy's dad was really the only "help" :-p)

 
 Our old beyond-help tiny 24" oven. The propane guy said he'd never even heard of a brand called "Jenny".
 Yeah... the stovetop works but it definitely could've use some help.


First order of business--cut the granite seams with the grinder.


After a REMARKABLY uneventful granite cutting session, the center cabinet had to be pulled out and the end cabinet had to be moved over to accommodate the stove.


As you can see (if you look closely) the granite seams and seams of the cabinet don't line up. Jeremy's Dad artfully cut down the edge so we wouldn't have to move the entire thing.


He also moved the electrical box sticking out of the wall into a wall-based outlet closer to the base of the stove.


I also pulled the tile off the wall so we could move the edge cabinet AND helped cut the backsplash with the grinder (when I say that I helped, I mean I sprayed water on the granite while Jeremy cut...) The backsplash had to be removed so that the clock part of the stove would sit flush with the wall.


We now have a place for the stove to slide in! We've got to get the propane guys out early next week to safely hook it up!!!


Bring on the baked goods.

Friday, March 9, 2012

Micro Table

Tiny end table we got last weekend. It used to be Jeremy's grandparents. It might need a little revamp, as it's stained and unsealed. I see some sanding, staining, and poly in my future.


I know the picture's not great but Pebble was trying to help. Cat + glass table = nothing good.

Saturday, March 3, 2012

Little Project Updates

I've been a complete slacker on the house. My Mom pointed out to me in that I only posted once in the entire month of February. That being said, I'm going to try and pick it up in March. My parents are *hopefully* coming to stay in May, so I want the house to be in good shape. I started with yardwork today (see other post). I also hung up a picture today (with wall anchors and everything!) 


I've been doing a lot of watercolor lately. Some have been recycle-worthy, some are half done, one is up on the wall. 

Here's some feathers I'm working on.


Here's a tree (for those of you who are outdoor challenged and could not tell it is a tree.)


Last project to share for now. This was a Christmas present for the lovely *Caitlin and Rik* They've got a lot to save for with an upcoming wedding and lotsa intercontinental travel :-). Plus the only thing I heard Rik say that he wanted was a teacup pig. So I got some ceramic piggies...


...chalkboard paint


 and make those pigs adorable!


Fortunately there were three piggies in the pack, so one is permanently homed at the Beech House :-)


The Great Outdoors

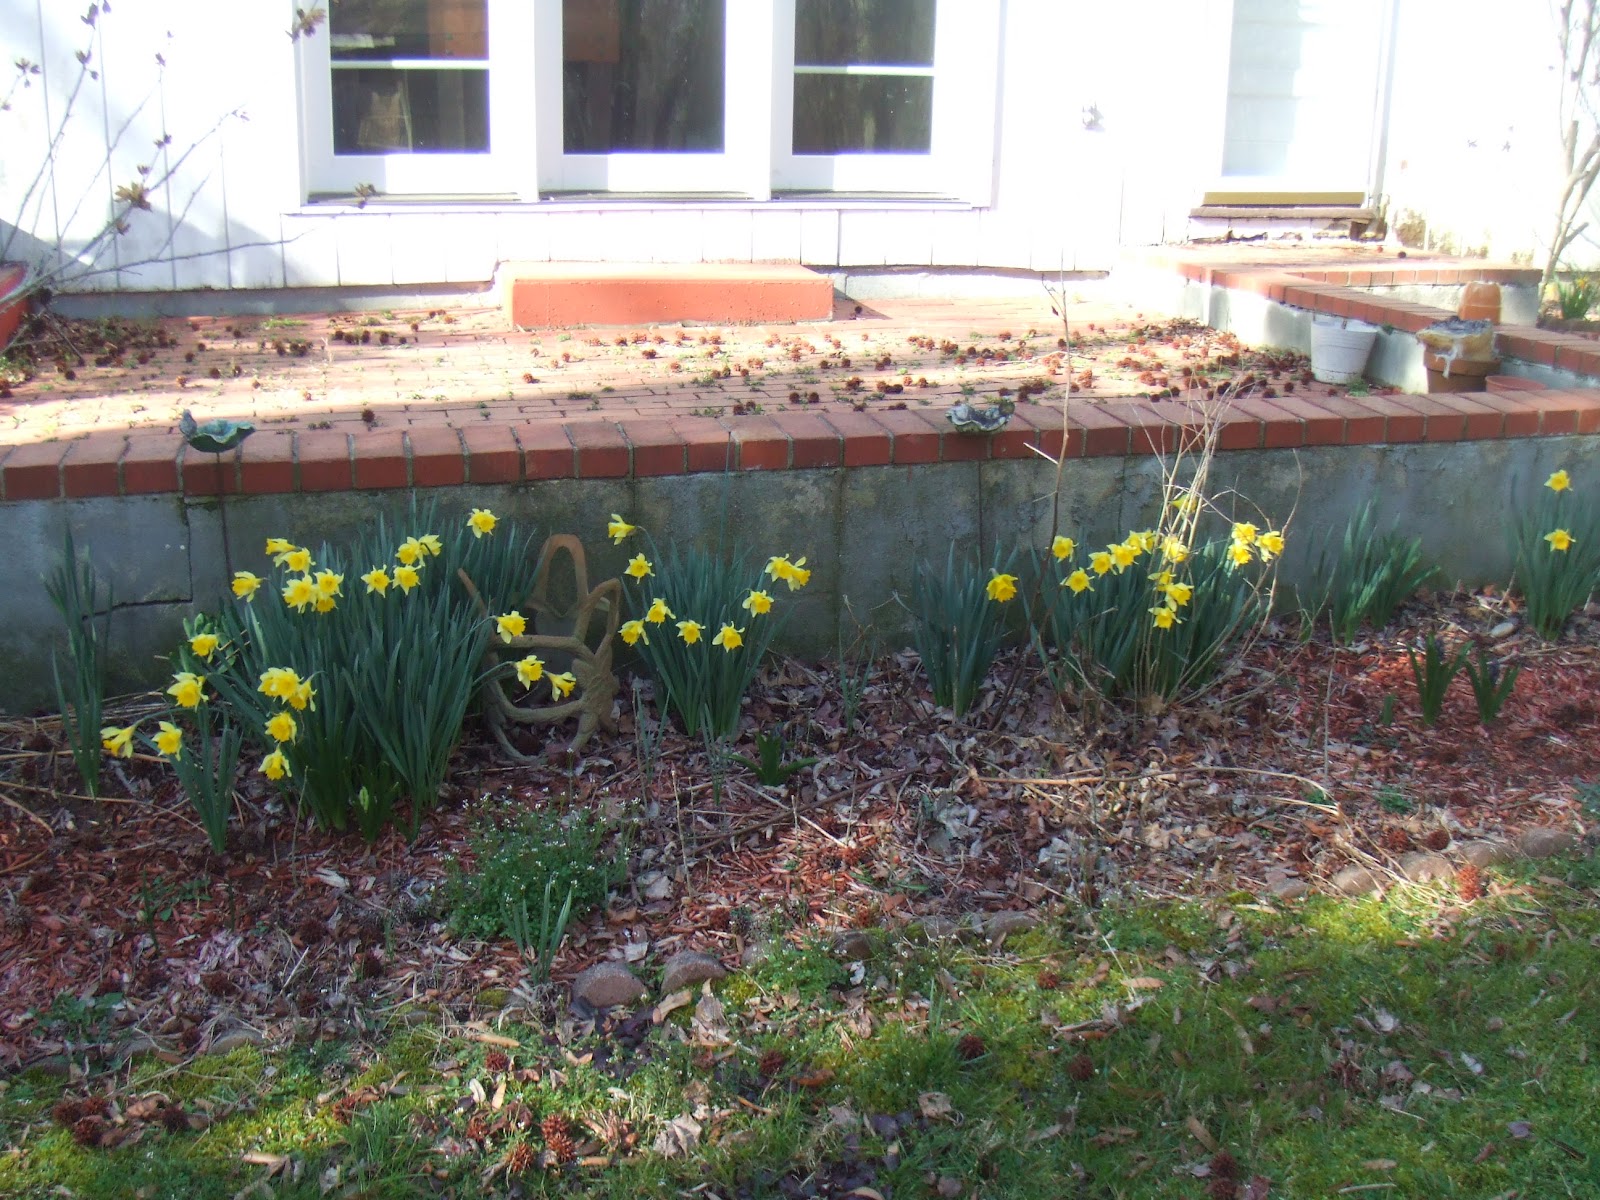
Being as it was in the 60s today I thought I'd go out and do some yardwork. The daffodils are in full bloom, as are the weeds.


 I wanted to get a jump on keeping the shubbery in check. Spot the difference:


Did a little porch clean-up.


Pretty March!

Anyone know what these are? They're not daffodils. The leaves are much wider. Probably easier to tell in person...


Other flowers in our yard.


Sunday, February 5, 2012

God Created the World and said "LET THERE BE LIGHT(s)"

It's funny because I made lights out of a globe.

I've been anxiously waiting for my globe to arrive in the mail so that I could get this project started. It's going in the purple spare room and will look most excellent once there's other furniture, etc... Regardless, I'd venture to say it looks prettttty good now. Without further ado, here are my globe lamps.

I took my sepia-toned cheapest-I-could-find-on-the-internet globe.


 Laboriously cut it in half at the equator. People on the internet who said it was cheaply constructed were lying. After a few 15 minute sessions with the box cutter I got it apart and cut holes in the top.


Once I had it apart I decided that I wanted the inside to be gold... instead of cardboard. I thought about using gold leaf (imitation, of course) but after I trip to the craft store I nixed that $30 idea for a $5 one. Metallic 18kt. spray paint. Pros? Easier, faster, cheaper, and I've done it before.


I saran-wrapped and taped the globe up solidly.


Here's what the inside looks like now! A significant improvement :-)


Next step was wiring them up, which was insanely easy. I had two old IKEA hanging paper lanterns that are torn and dirty. I've had them since, like, my freshman year of high school. While the shades aren't in presentable shape, the light fixture itself is completely fine. All I had to do was pull the cord through the hole at the top until the light was nestled snugly.

I wish that I had the hooks and chains that will eventually hang them in place, but I don't. You'll have to settle for some non-permanent home photos instead.